Dec
The Tech Guide: Integrating Smart Glass with Home Automation
Integrating PDLC (Polymer-Dispersed Liquid Crystal) smart glass into a home automation system is the ultimate upgrade for any high-end residential or commercial project. Beyond the "wow factor," it allows your architecture to respond dynamically to your lifestyle—shifting privacy levels based on the time of day, occupancy, or a simple voice command.
For homeowners and contractors, this guide outlines how to bridge the gap between static glass and a fully connected smart ecosystem.
Hardware Essentials: The "Heart" of the System
Before you can control smart glass with an app or voice, you must understand the electrical backbone. Smart glass is an electrical component, and proper wiring is critical.
-
The Busbars and Wires: Each panel of smart glass or film has "busbars" (conductive strips) along one edge. These have pre-soldered wires that exit the glass.
-
The Transformer (Power Controller): Smart glass typically operates on low-voltage AC (usually 48V AC or 60V AC). You must never connect it directly to a wall outlet. A dedicated transformer/power supply converts your standard 110V/220V power to the specific voltage the glass requires.
-
The Switch/Relay: To automate the glass, you place a smart relay or smart switch on the input side (the 110V/220V side) of the transformer. This relay acts as the gatekeeper that your automation system talks to.
Alexa & Google Home: "Hey Google, Frost the Windows"
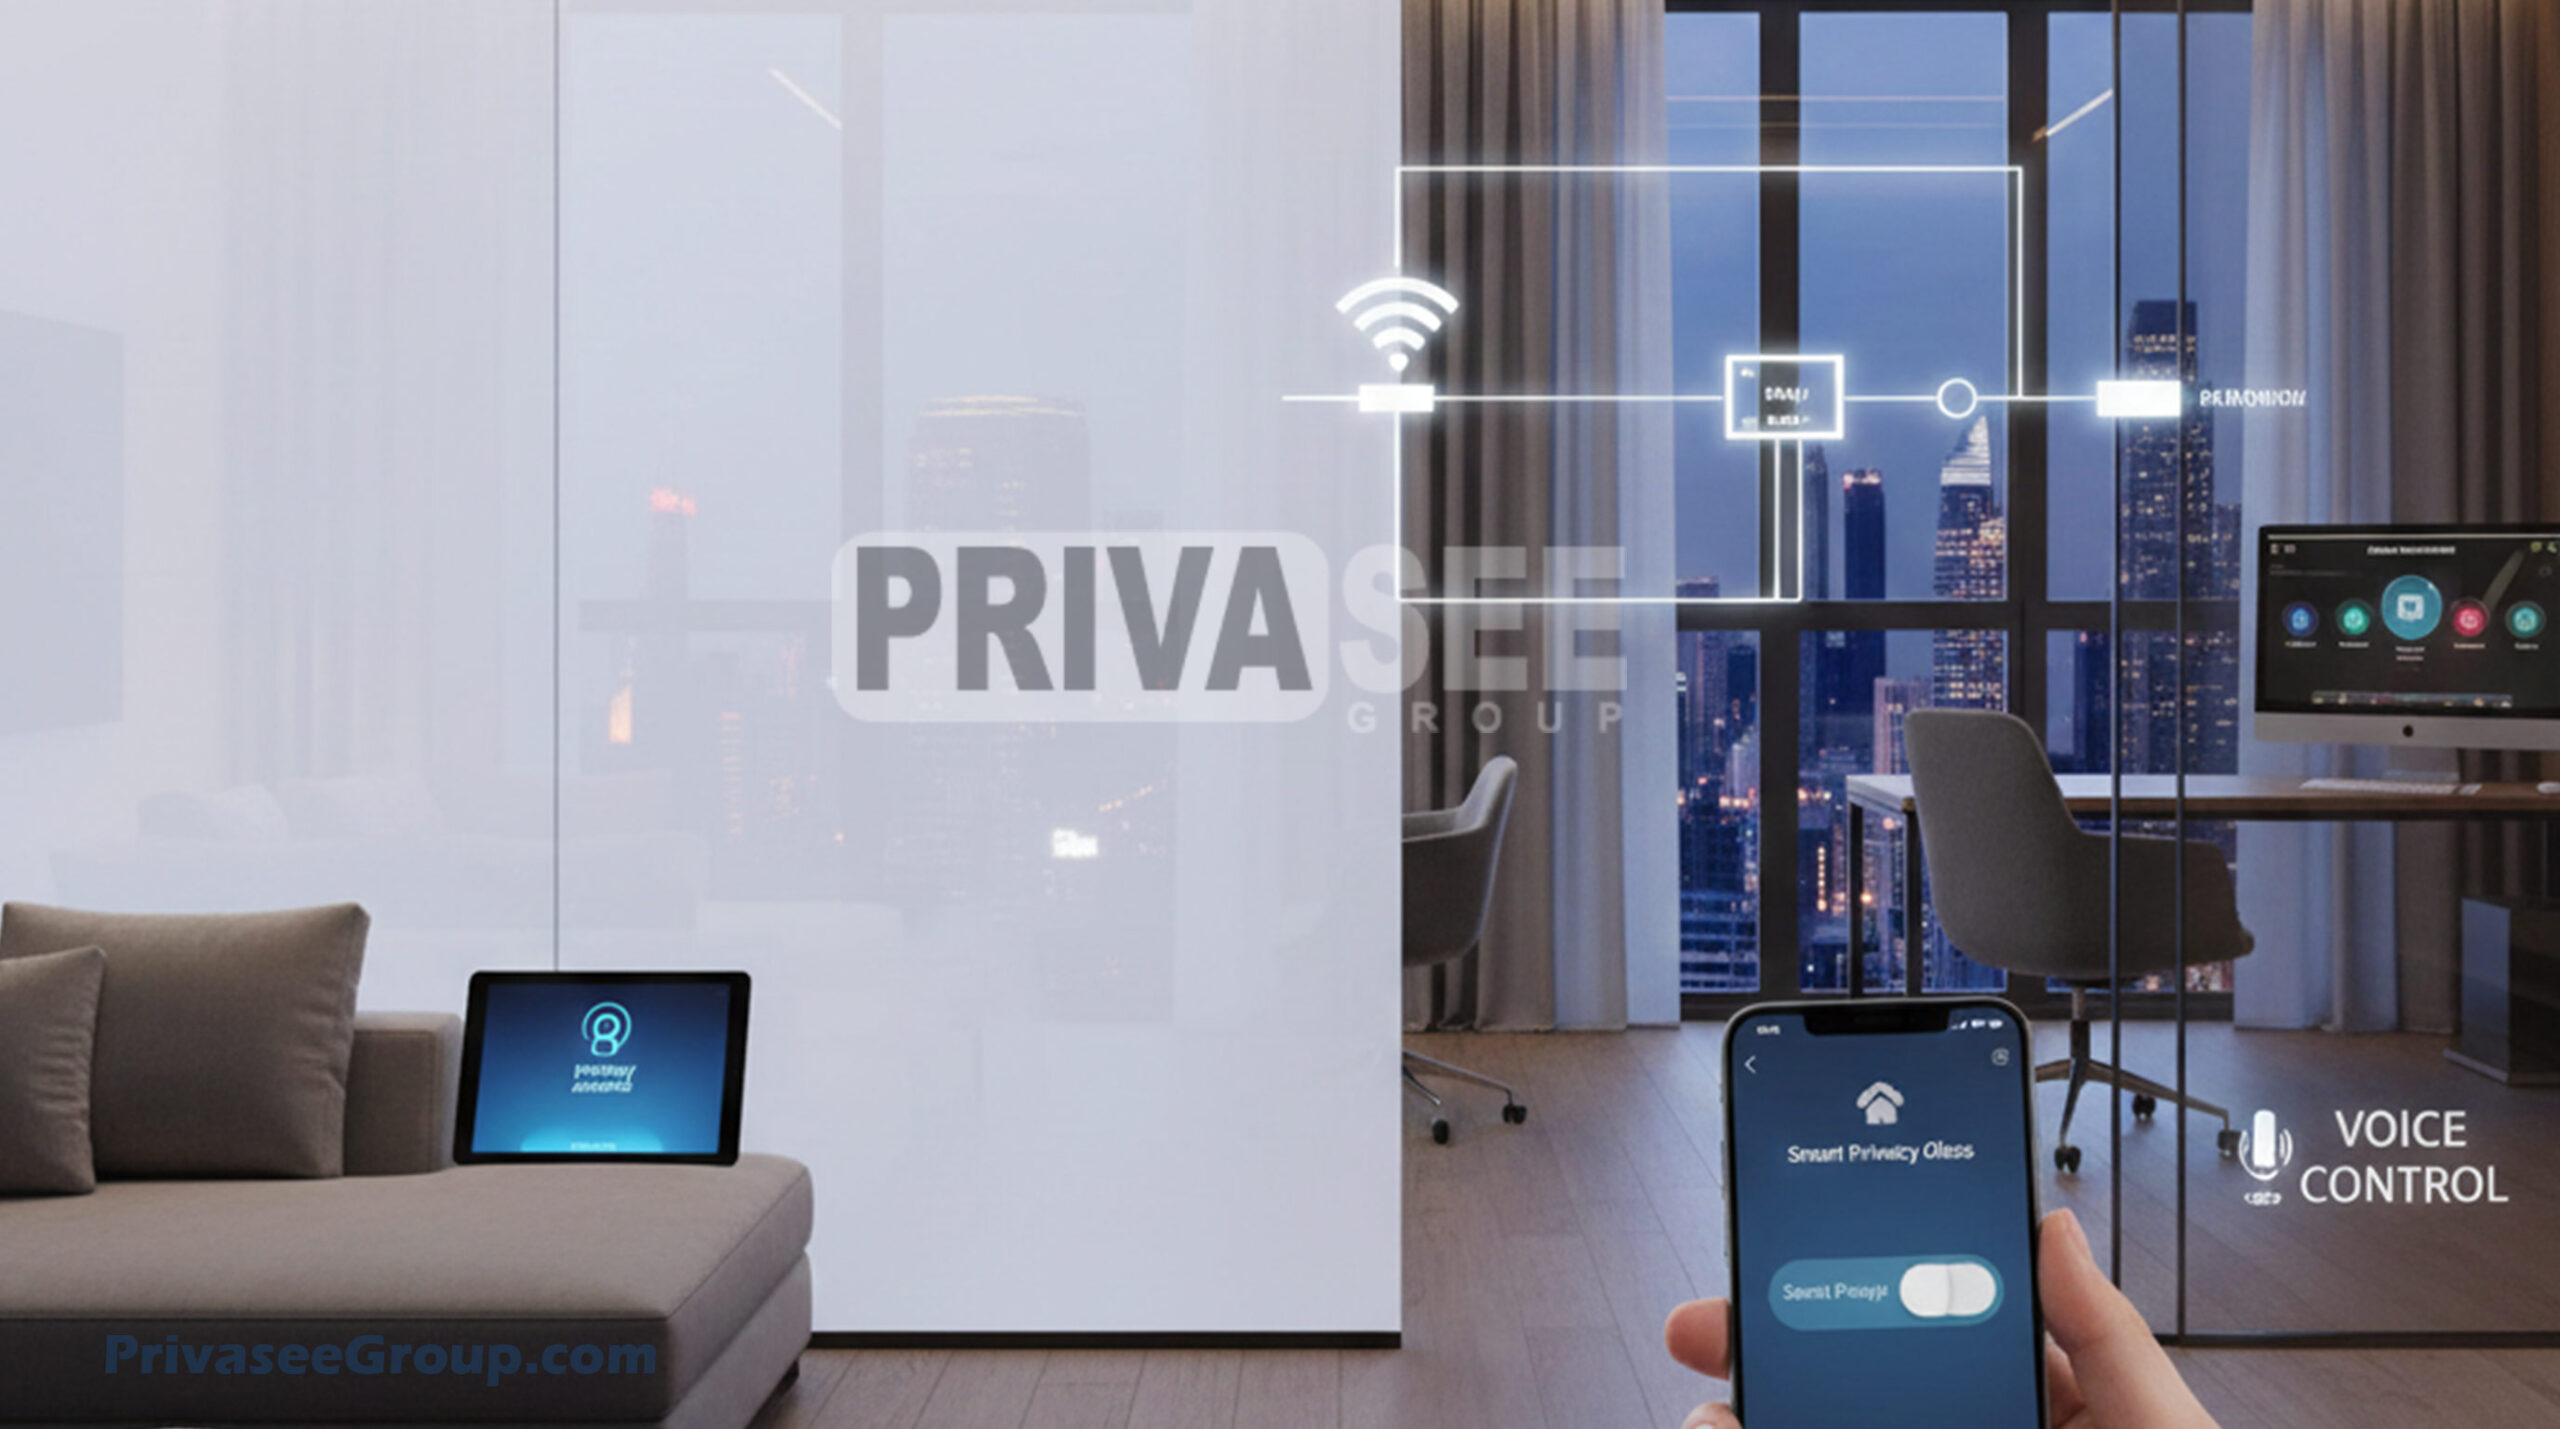
To get Alexa switchable glass or Google Home integration, you typically use a WiFi-enabled smart relay (such as those compatible with the Smart Life or Tuya apps).
-
Wiring: The smart relay is wired between the main power source and the transformer.
-
App Setup: Add the relay to your smart home app via WiFi.
-
Voice Sync: Enable the corresponding skill in the Alexa or Google Home app.
-
Commanding: You can now create routines. For example, "Alexa, goodnight" can turn off the lights and instantly switch all bedroom windows to opaque.
Professional Integration: KNX & Crestron
For large-scale projects or luxury homes using professional building controls like KNX or Crestron, integration is handled through relay actuators.
-
KNX Integration: A standard KNX relay actuator is used to switch the power to the transformer. Since PDLC is "fail-safe" (it defaults to opaque when unpowered), the system can be programmed to cut power whenever privacy is required or when the room is unoccupied to save energy and extend the film's lifespan.
-
Crestron & Lutron: Systems like Crestron Home can control smart glass via a low-voltage relay expander or a shared lighting control module. In these setups, smart glass appears as a "toggle" or "shade" device on the wall-mounted touchscreens.
-
Dimming: Some advanced controllers allow for 0-10V dimming. This allows the glass to transition through various levels of "haze" rather than just a hard on/off switch, creating a sophisticated aesthetic effect.
Beyond the Switch: Automation & Scenes
The true power of smart home smart glass integration lies in automation that happens without user input:
-
Scheduling: Set your office partitions to stay clear during business hours and automatically frost at 6:00 PM for security.
-
Sensors: Tie the glass to motion sensors in a bathroom. When someone walks in, the glass frosts instantly.
-
Energy Monitoring: While smart glass uses very little power—typically around 3-5 Watts per square meter when clear—integrating it into a dashboard allows facility managers to monitor the entire building’s energy envelope and UV protection.
-
Security Sync: Program your windows to turn opaque the moment your smart security system is armed at night, acting as a digital curtain that protects your privacy and hides valuables from view.
Contractor Tip: Always ensure a certified electrician handles the high-voltage connections to the transformer. For operable windows and doors, use specialized power transfer hinges or magnetic contacts to ensure a clean look without visible wires.
For high-quality supplies and installation, shop all your project needs. For custom assistance or pricing, get a quotation today.
Integrating smart glass into a home automation system requires a clear understanding of the electrical signal path. Because PDLC technology requires a specific AC voltage to align the liquid crystals, the smart relay acts as the automated "gatekeeper" for the power supply.
Below is the hardware checklist and technical wiring configuration for a standard integration.
Recommended Smart Relay Hardware
The choice of relay depends on your existing ecosystem. For smart glass, "Dry Contact" relays are highly recommended because they separate the control signal from the load power.
| System | Recommended Hardware | Key Feature |
|---|---|---|
| DIY / Alexa / Google | Shelly Plus 1 | Compact, fits behind wall switches, native WiFi. |
| Multi-Zone (Tuya) | MHCOZY 4-Channel Relay | Controls 4 separate glass zones from one board. |
| Professional (KNX) | MDT Glass Push-button II | High-end tactile control for KNX ecosystems. |
| Enterprise (Crestron) | Crestron DIN-8SW8 | DIN-rail mounted for centralized equipment racks. |
Technical Wiring Diagram (High-Voltage Side)
The most reliable way to automate smart glass is to place the smart relay before the transformer (on the high-voltage input side). This ensures that when the glass is "Off" (Opaque), the transformer is also powered down, saving energy and extending the life of the components.
Standard Connection Logic:
-
AC Source: Connect the Live (L) and Neutral (N) wires from your building’s power to the input of the Smart Relay.
-
Relay Output: Connect the Output (L) from the relay to the Input (Primary) of the PDLC Transformer.
-
Low Voltage Output: Connect the Output (Secondary) of the transformer (typically $48\text{VAC}$ or $60\text{VAC}$) directly to the busbars of the smart glass.
⚠️ Warning: Never connect smart glass directly to a standard wall outlet without a transformer. The PDLC film will be instantly destroyed by the high voltage.
Step-by-Step Integration Guide
For Alexa & Google Home (using Shelly Plus 1):
-
Wiring: Wire the Shelly relay as described above. Ensure the Shelly is powered by the same circuit or a stable $5$-$24\text{VDC}$ source if using the DC input.
-
Configuration: Use the Shelly Cloud app to connect the relay to your WiFi. Set the relay type to "Toggle" or "Edge Switch" if you have a physical wall switch attached.
-
Naming: Name the device "Office Window" or "Shower Privacy."
-
Voice Sync: Link your Shelly account in the Alexa/Google Home app. You can now say, "Alexa, turn on the Office Window" to make the glass clear.
For KNX / Crestron Systems:
-
Hardware: Use a standard Binary Output / Relay Actuator.
-
Programming: Map a group address to the relay. Program a "Scene" (e.g., "Movie Mode") that triggers the relay to open, cutting power to the transformer and turning the glass opaque.
-
Fail-Safe Design: Always program the system so that "Power Off = Opaque." This ensures privacy is maintained if the automation system or power fails.
Pro Tip: Moving Doors & Windows
If you are automating glass in a sliding or swing door, you must use a Power Transfer Loop or Power Transfer Hinge. These specialized components carry the low-voltage wires through the door frame to the glass without exposing them to pinching or wear during movement.
For high-quality supplies and installation, shop all your project needs. For custom assistance or pricing, get a quotation today.
Share this post

RELATED
Posts
Top 10 Benefits of Smart Glass for Commercial Spaces
Switchable Smart Film vs Smart Glass: Which One Should You Choose?